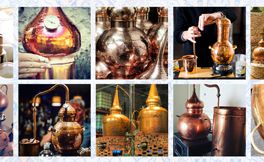
Know How
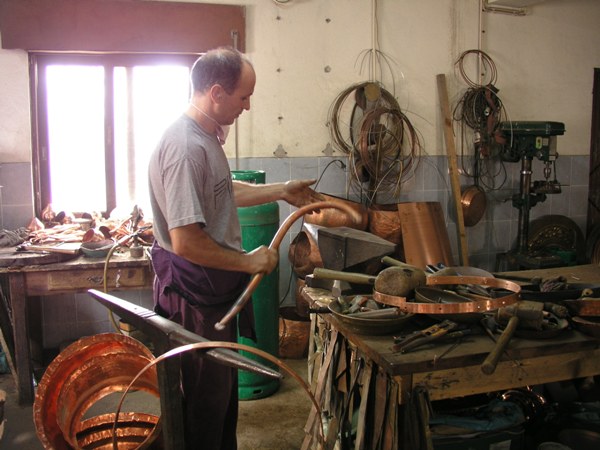
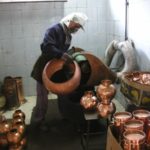
Surrounded by gleaming orange-red metals these dedicated craftsmen are single minded in their devotion to create quality alembics they can be proud of. These guardians of a forgotten craft are the true Master Craftsmen.
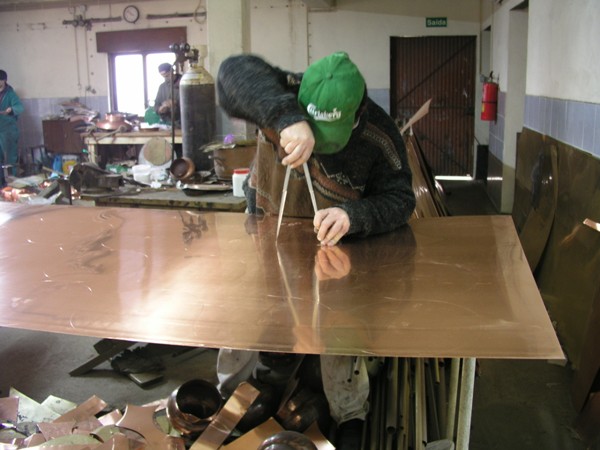
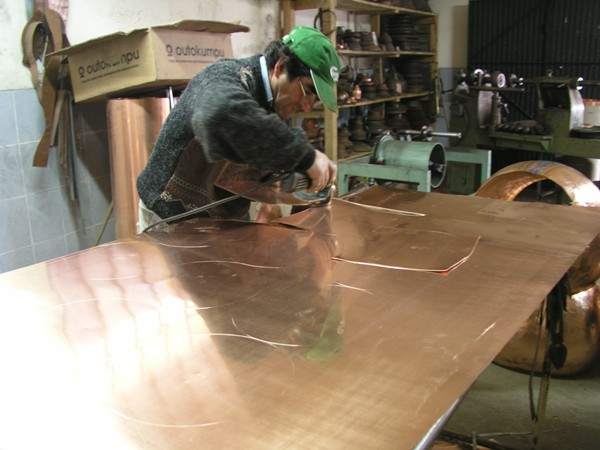
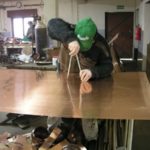
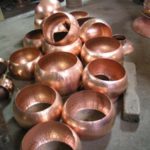
1. Cutting
The sections that will make up the different parts of the alembic are carefully marked and cut out using electrical or hand shears. These cut out sections are stacked aside before passing on to the next phase.
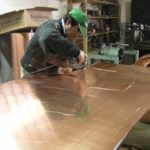
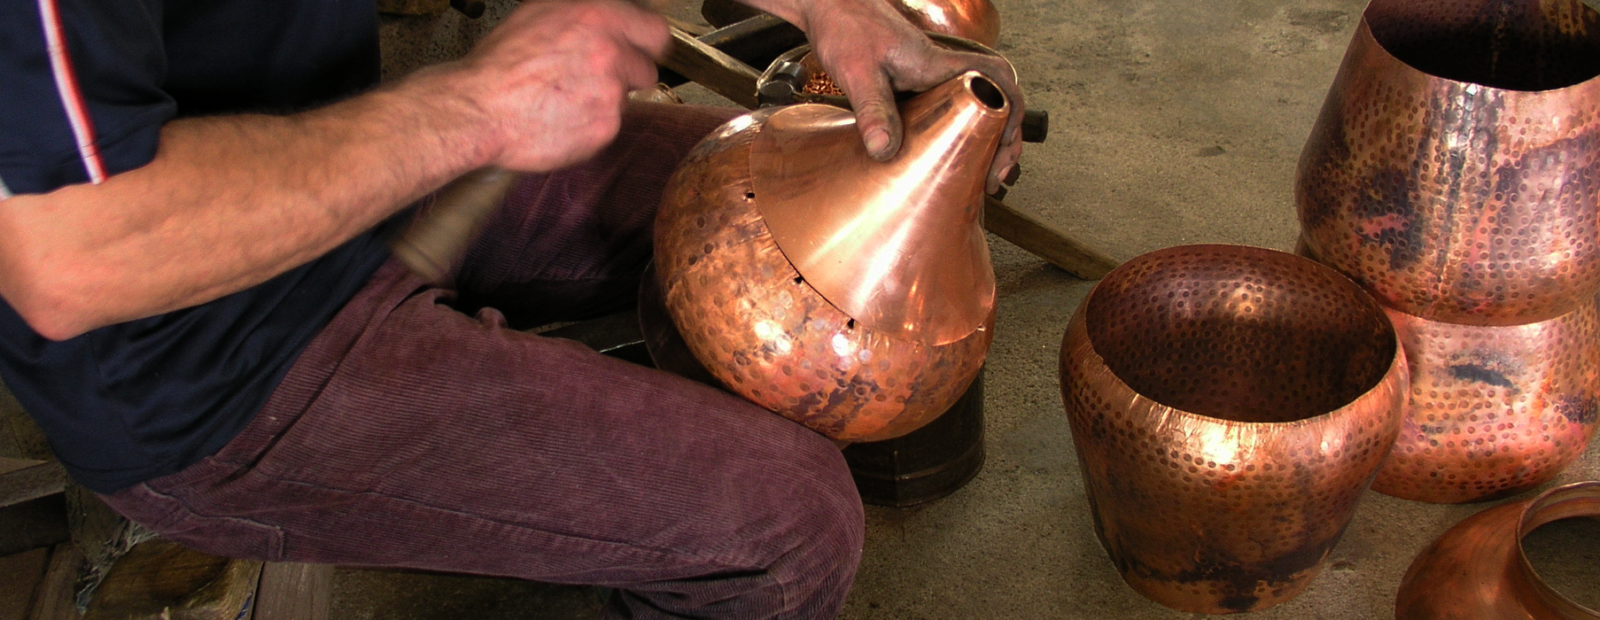
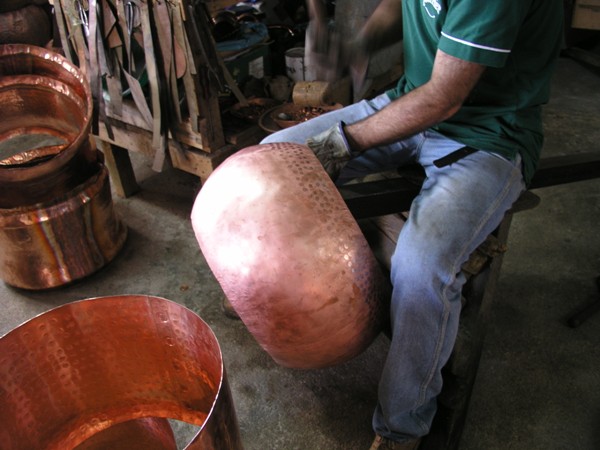
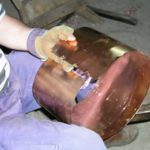
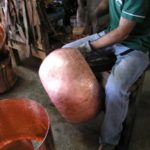
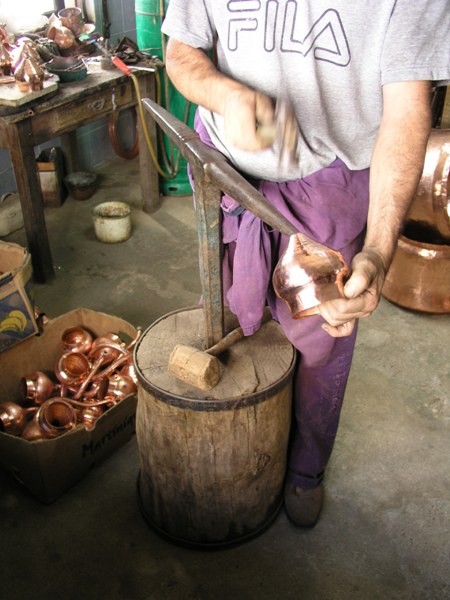
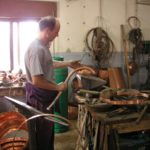
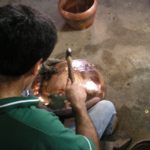
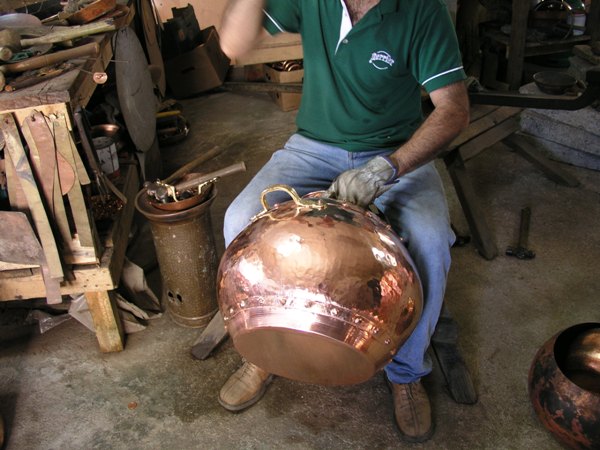
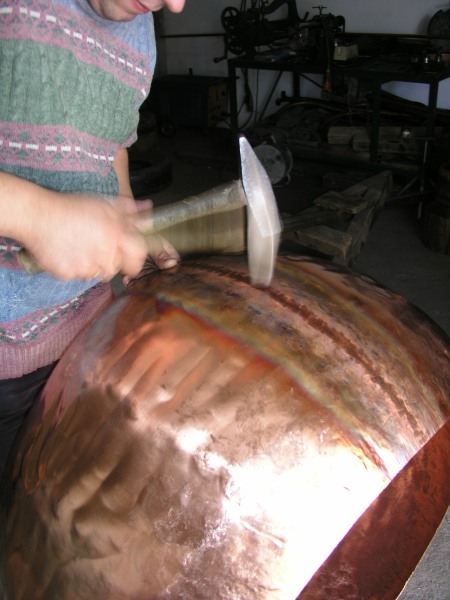
2. Shaping
In this phase of the process the different parts begin to form recognisable shapes. Each dimple is skilfully hammered by hand as it has always been done by our artisans and their fathers before them, in a vigorous and strenuous effort to beat the copper into the desired shape. The single long sheet that will make up the belly of the pot is joined by interlocking or dovetailing the ends together before being welded and beaten on a concave stump to give it its’ rounded shape.
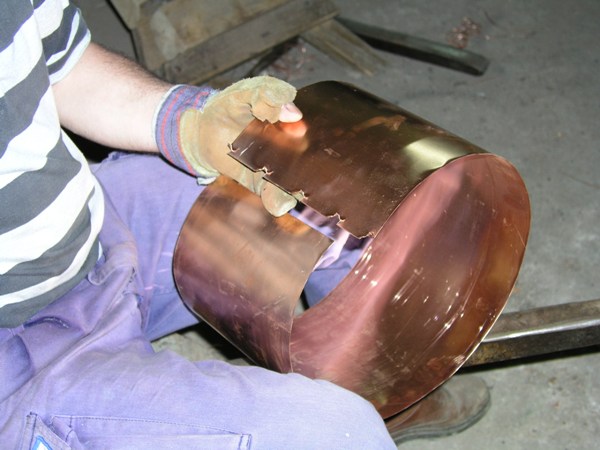
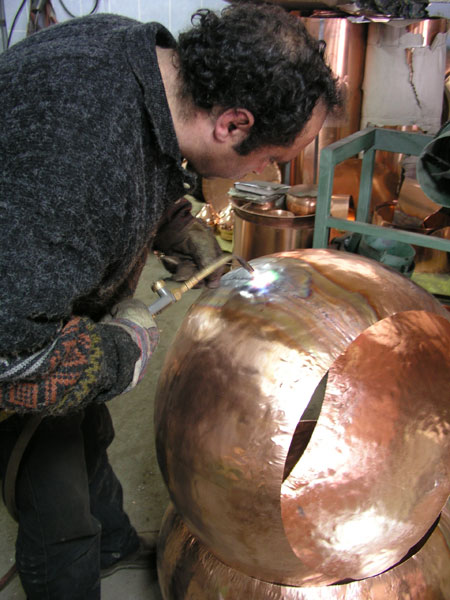
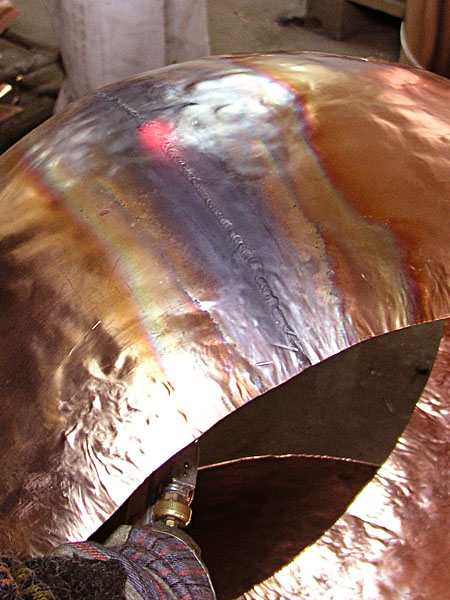
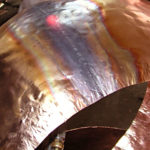
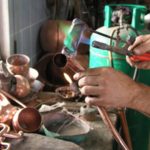
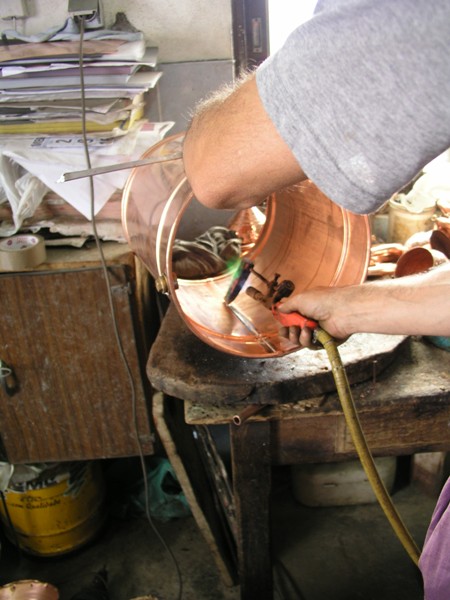
3. Welding the belly
The part that will make up the belly or sidewall is joined by welding the dovetailed ends together. This is done by oxyacetylene gas welding which makes the copper soft and malleable. The join is then carefully examined in order to detect any defects before being beaten in order to regain its strength and resistance in a process known as planishing. The result is an almost seamless union.
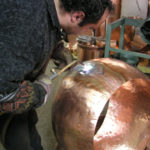
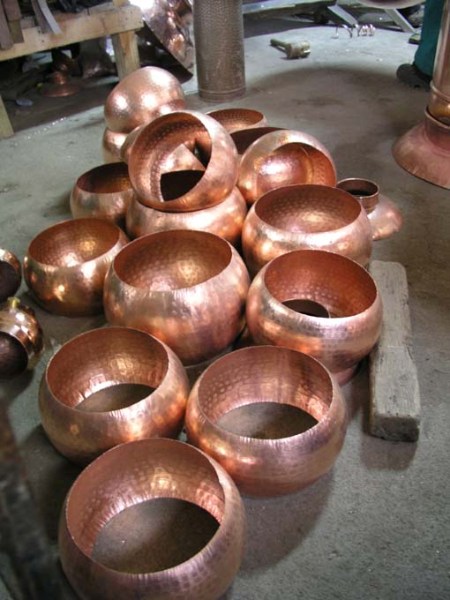
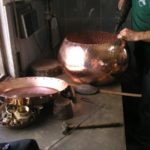
4. The alembic head
The alembic head is formed from a single copper disc. This disc is clamped against a mould or shape former on a mechanical lathe and as it spins the craftsman skilfully applies the correct amount of pressure using hand tools, gradually the alembic acquires its distinctive and peculiar shape. This process requires considerable skill and dexterity.


5. The Swan Neck Pipe
The shaping of the swan neck pipe or delivery tube between the alembic unit and the condenser demonstrates the high level of skill employed by our artisans as they form the swan neck from a single tapered piece of copper in a technique that combines simplicity and expertise.

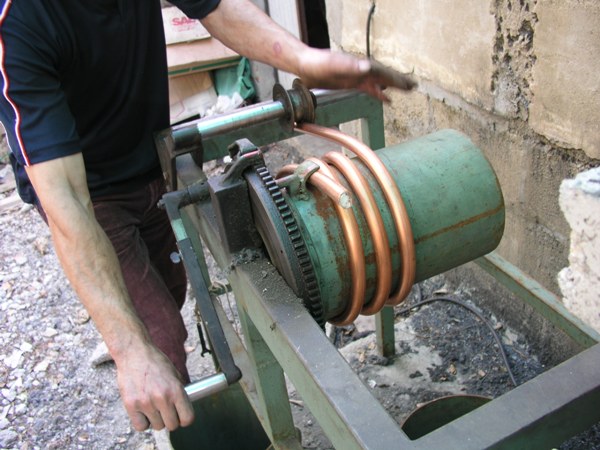
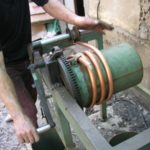
6. The condenser
A single long sheet is used to form the condensing recipient. The copper pipe that will become the serpentine coil is filled with sand and coiled around a rotating drum until it acquires the desired shape.
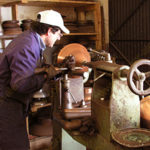
7. Polishing
In the next phase the different parts of the alembic are buffed and polished by machine until they acquire a characteristic glow.

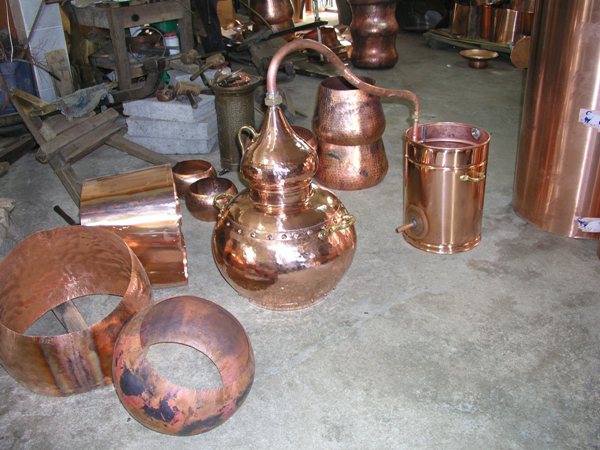
8. Assembly
The different parts of the alembic are matched and joined together before being hand polished.
The alembic construction method may either be of a riveted or soldered union construction, depending on the model:


a) Riveted Unions: The 3 parts that make up the alembic pot are joined together by means of rivets, small copper pins with heads on one end that are inserted through aligned holes at regular intervals along 2 overlapping joints, the plain end is then hammered to form a second head. A linseed oil paste is applied on the interior seam of this joint for a watertight union. This paste is inert and will not affect the distillation process.
b) Soldered Unions: The 3 parts that make up the alembic pot are welded together using brass wire or filler. The gas welding process makes the copper flexible and malleable. This joint is then beaten on an anvil in order to regain its strength and resistance.
The remaining parts of the alembic are soldered using either a tin or silver solder to form soldered unions. The solder used in our alembics is guaranteed to be totally safe and harmless.
At the final stage the alembics are polished by hand. The transformation of copper sheets into beautiful and functional pieces of art is now complete showcasing the best that traditional Portuguese crafts have to offer.
Al-Ambiq®
…vestiges of a tradition that time did not erase